
Here is how to make these simple, but practical nursing covers.
Supplies you will need: 1yd of fabric, 2 D rings 1.5 in., 16 in. of boning, matching or contrasting thread, and any buttons or extra trims you want to add.
To get started: Cut your main piece @ 27in. by 35in., (the short side goes along the selvage) The long strap @ 25in. by 4in., and the short strap @ 6in. by 2in.

Start by pressing a 1/4in. hem on the sides and bottom, then turn it again another 3/4in. and press. Sew the hem closed @ 1/2in. and press again.

Fold both the long and short strap in half with right sides together and sew 1/4in. seam. Turn inside out and press with the seam going down the back.
Long strap: fold one end inside itself 1/2in and press. Top stitch 1/4in. on all three sides and press.
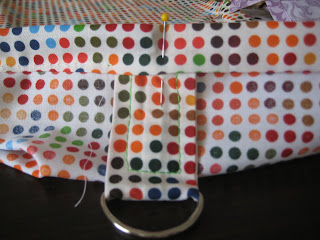
Short strap: Put D rings half way down and fold in half. Top stitch 1/4in. on all three sides to secure rings.

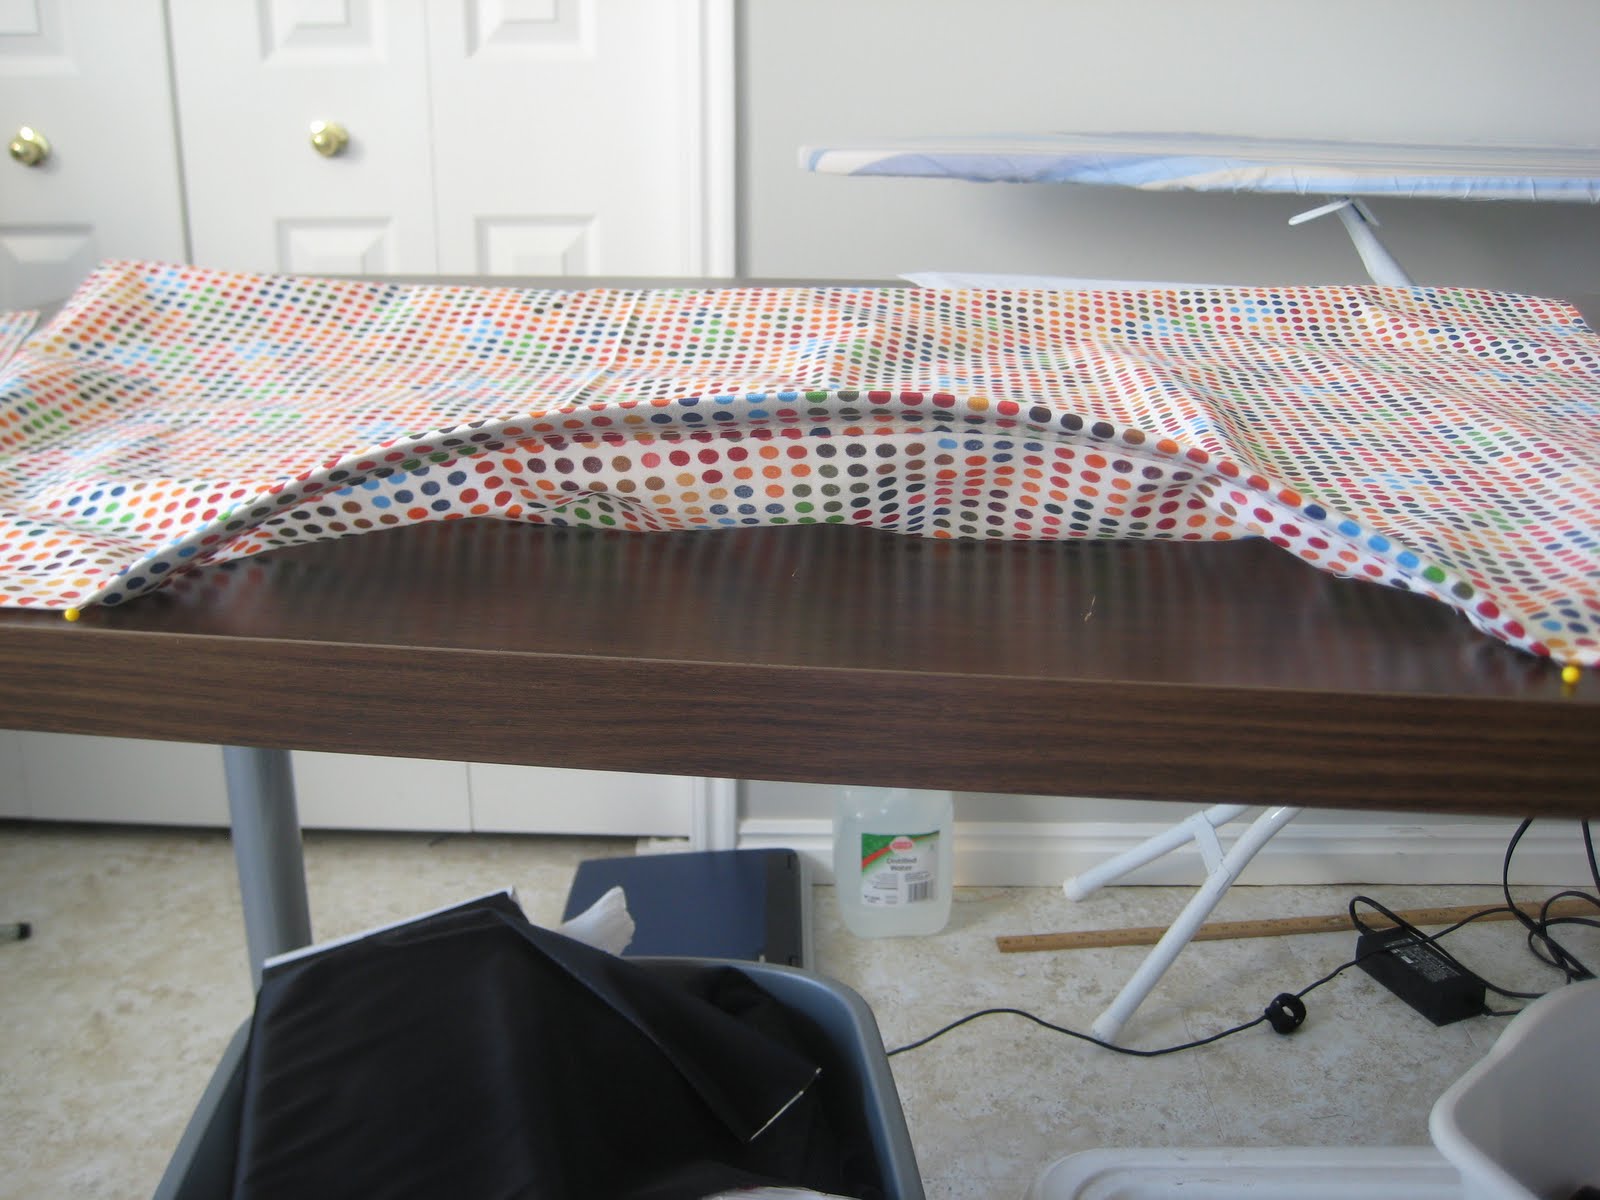
Going back to your main piece, turn down 1/4in hem and then 1in. and press. Measure 8.5 in. from each side and pin. sew down hem just between pins. This is your casing for the boning. Slide boning in the casing.

Next, pin the long strap on the right side and the short strap on the left as if you were wearing it. Pin them so the right sides are facing out and so they are as close to the boning as possible. Finish sewing rest of the casing closed.
To finish, bring up both straps to the top, and secure either by just sewing the length of the straps, or top stitch across the entire top of the casing.

Finally, press everything really well; every seam, ever wrinkle and use lots of steam.
Then comes the fun part, embellishing! Be creative with this part, you can make every one unique and fit different personalities. My favorite is to make these fabric flowers, or yo-yo's with fun buttons. To see how to make the fabric flowers follow the past
post. I also used a thick thread on a large stitch to add a little interest.

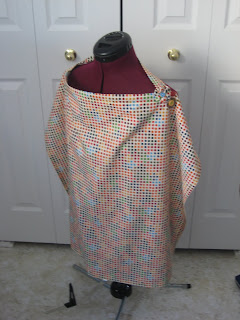
And there you have a fun, personal and unique nursing cover! These are a great shower gift if you already have one or don't necessarily need one. :)
FINAL TIP: When you make anything, pressing is really important. If you press every step and do a finishing press, your project will stay nice longer and every seam, pleat, or dart will be permanent no matter how many times you wash it.
Happy Sewing!


 Start by pressing a 1/4in. hem on the sides and bottom, then turn it again another 3/4in. and press. Sew the hem closed @ 1/2in. and press again.

 Next, pin the long strap on the right side and the short strap on the left as if you were wearing it. Pin them so the right sides are facing out and so they are as close to the boning as possible. Finish sewing rest of the casing closed.
 To finish, bring up both straps to the top, and secure either by just sewing the length of the straps, or top stitch across the entire top of the casing.
 Finally, press everything really well; every seam, ever wrinkle and use lots of steam.
 And there you have a fun, personal and unique nursing cover! These are a great shower gift if you already have one or don't necessarily need one. :)
 FINAL TIP: When you make anything, pressing is really important. If you press every step and do a finishing press, your project will stay nice longer and every seam, pleat, or dart will be permanent no matter how many times you wash it.


