March 10, 2011

Embelished onesies


TWO BABIES! My sister in law just gave birth to twins today! I can't believe they are finally here to join our family. I am so glad that my little one will have playmates her same age.

I saw this iron on a few months ago that said 1 0f 2 and 2 of 2. I thought it was a perfect start to create fun and personal onesies for the twins. they were so easy, I might just have to make more for myself!


Photobucket

March 8, 2011

Nursing cover tutorial


Here is how to make these simple, but practical nursing covers.

Supplies you will need: 1yd of fabric, 2 D rings 1.5 in., 16 in. of boning, matching or contrasting thread, and any buttons or extra trims you want to add.

To get started: Cut your main piece @ 27in. by 35in., (the short side goes along the selvage) The long strap @ 25in. by 4in., and the short strap @ 6in. by 2in.
Start by pressing a 1/4in. hem on the sides and bottom, then turn it again another 3/4in. and press. Sew the hem closed @ 1/2in. and press again.


Fold both the long and short strap in half with right sides together and sew 1/4in. seam. Turn inside out and press with the seam going down the back.

Long strap: fold one end inside itself 1/2in and press. Top stitch 1/4in. on all three sides and press.

Short strap: Put D rings half way down and fold in half. Top stitch 1/4in. on all three sides to secure rings.
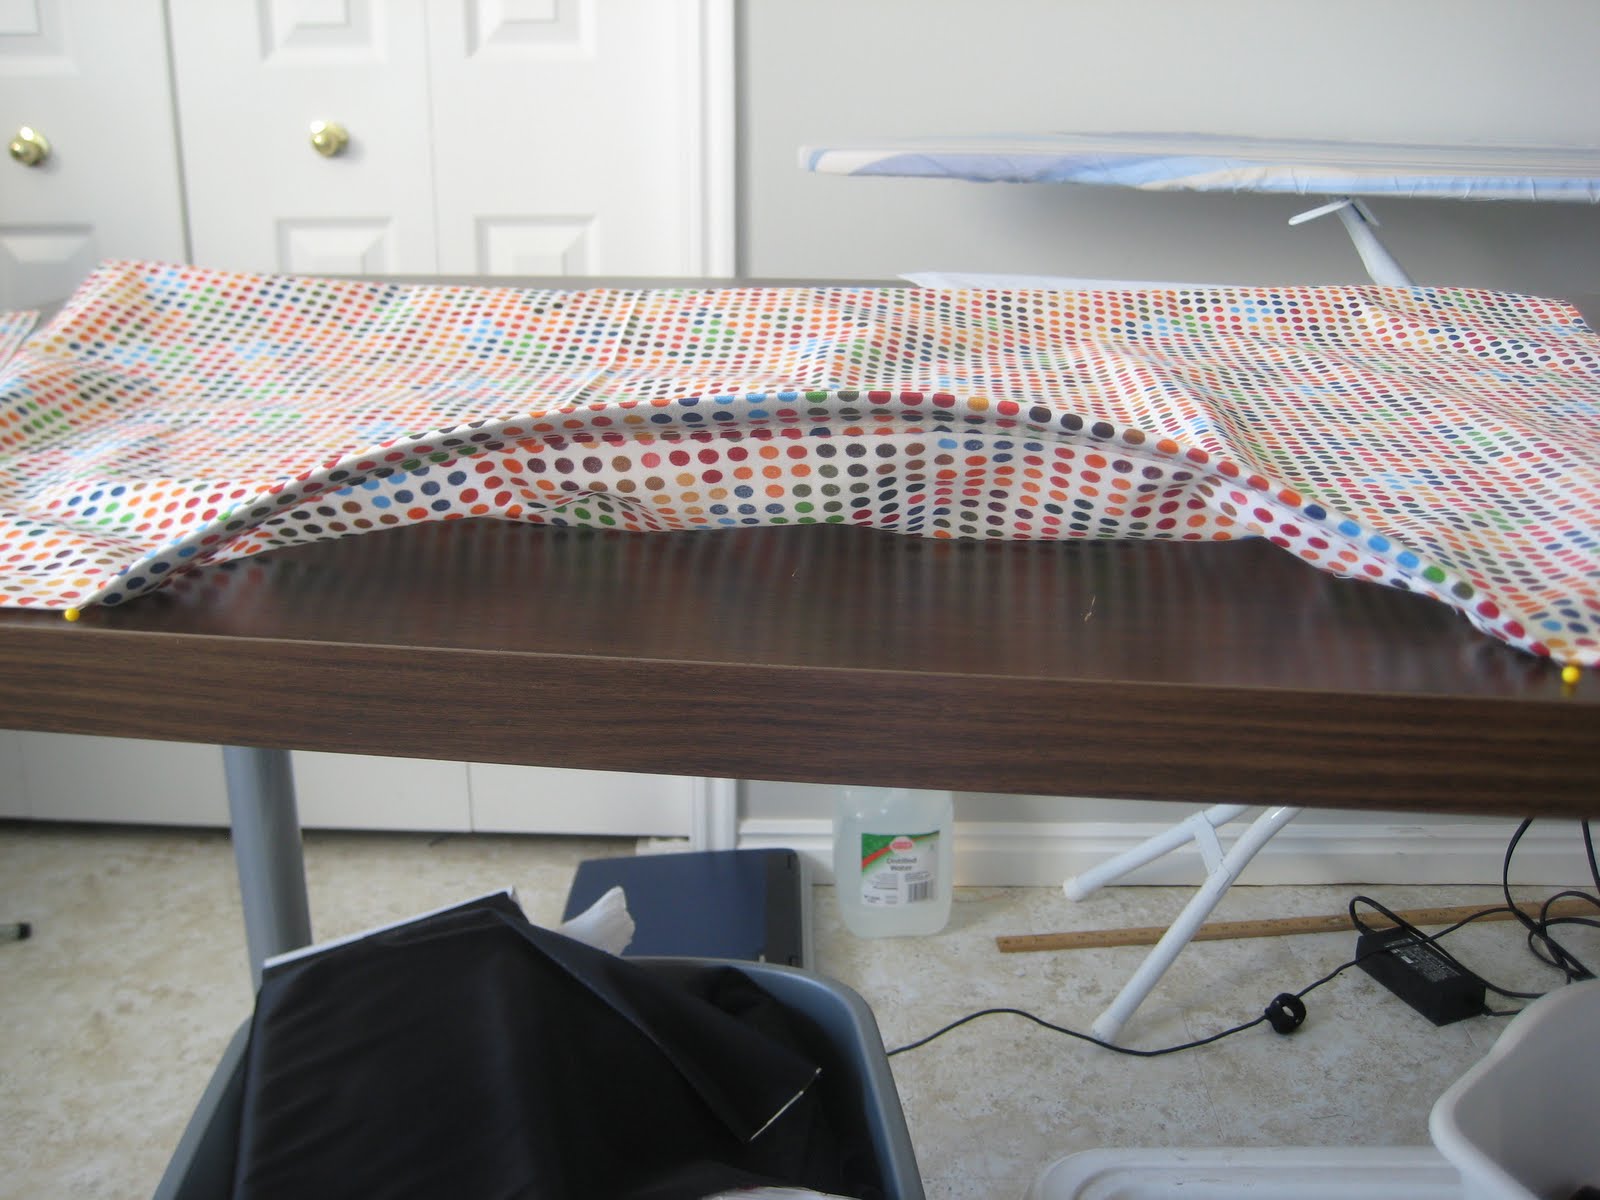
Going back to your main piece, turn down 1/4in hem and then 1in. and press. Measure 8.5 in. from each side and pin. sew down hem just between pins. This is your casing for the boning. Slide boning in the casing.Next, pin the long strap on the right side and the short strap on the left as if you were wearing it. Pin them so the right sides are facing out and so they are as close to the boning as possible. Finish sewing rest of the casing closed.
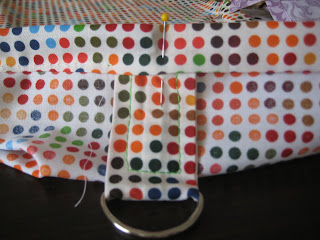
To finish, bring up both straps to the top, and secure either by just sewing the length of the straps, or top stitch across the entire top of the casing.

Finally, press everything really well; every seam, ever wrinkle and use lots of steam.

Then comes the fun part, embellishing! Be creative with this part, you can make every one unique and fit different personalities. My favorite is to make these fabric flowers, or yo-yo's with fun buttons. To see how to make the fabric flowers follow the past post. I also used a thick thread on a large stitch to add a little interest.
And there you have a fun, personal and unique nursing cover! These are a great shower gift if you already have one or don't necessarily need one. :)
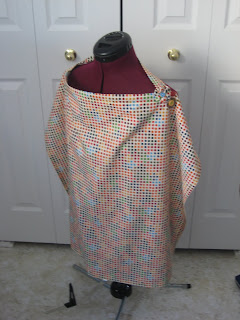
FINAL TIP: When you make anything, pressing is really important. If you press every step and do a finishing press, your project will stay nice longer and every seam, pleat, or dart will be permanent no matter how many times you wash it.

Happy Sewing!
Photobucket

February 15, 2011

Nursing covers

Being pregnant has shifted my project focus drastically. I also have about 6 friends & 3 family members who are or have been pregnant in the last year so I have been looking at new crafts and sewing projects, one of which is a nursing cover. I made this one for a friend and am planing on making a few more for other friends as well. I tend to make things up as I go so I have a hard time taking pictures of each step and recording my process. However, I have many more to make so now that I know what I'm doing I can more easily make a step by step tutorial for you in the near future.

It's really fun being able to make each one unique and special to fit everyone's style and personality, like this one with flowers and unique buttons. This particular design only takes one yard of fabric, one set of D rings, and 18 in. of boning. All this cost around $10 (depending on the price of your fabric) so it is much cheaper to make one than buying one from pretty much anywhere. You could also add ribbon or rickrack around the edges, use contrasting thread or even add pockets on the inside. There are so many possibilities!

Photobucket

February 10, 2011

Blog Signature

I just learned how to make a post signature! I followed the instructions from thecutestblogontheblock.com under secrets. I think its cute and it wasn't too hard! Yea for me!

Photobucket

November 23, 2010

Car Seat Covers

Last Friday I had my two good friends, Chera and Rachel who also happen to be expecting, over for a craft night. We decided to make car seat covers. Chera made hers reversible which is a great idea! She has a more fun pattern on one side and a more subdued color pallet on the other. I'll have to get a pic from her when its done because it's very clever. Rachel and I are both having girls, and without know it, we got the same fabric just different color schemes! We had a lot of fun and they turned out great! Here is mine all finished. I decided to have an opening down the front to give me more options. It was a small pain getting the placket just right so there is a small tuck if you look close, but over all I love it! I don't have a car seat yet so it was hard to get a great picture, but I think you get the idea.

Chera and Rachel have never really sewed anything before and they were able to make this project. This is a great project for those who want to learn how to sew but are unsure of their skills (without the placket and extra buttons of course). It teaches a lot of basic skills that you can use in many other projects.

Happy sewing!!!


November 15, 2010

Fun Fall Wreath


This is my first attempt and making a wreath! It was so much easier than I thought it would be. I just bought a wreath base, one fall bunch of silk flowers and about a dollars worth of ribbon. I took all the leaves, pine cones, and flowers off the steams. I set everything out and arranged it how I liked it first. I decided I didn't like the leaves so I just used the flowers, pine cones, and berries. I then just hot glued each piece to the wreath base and tied a bow to add some whimsy. Super easy and it only cost me about $8! I now have a fun fall wreath to hang on my front door, I love it! If you have ever thought about doing your own, I say go for it, I believe in you. This is something everyone can pull of and make it look good!

Happy fall decorating!

November 3, 2010

Cloth Diapers

Ever since we have found out we are pregnant I have been talking to friends and family about cloth diapers. I know some of you are thinking I'm crazy, and I don't know what I'm talking about because this is my first, but I have thought about it a lot. Matt and I have even done the math on the cost of disposables compared to cloth, and how they are much better for the environment and will cut down on trash. We know that there will be times that a disposable diaper is necessary however, I believe every time I use a cloth diaper I will be saving money. I even found a whole crowd of people who make their own and I've found the water proof and diaper flannel fabrics for a great price. I have gotten really excited about it in the last few weeks. It made me think about why I originally went to school for fashion design in the first place. I new if I learned how to sew and how to use a lot of types of fabrics, I could make a lot of things for my family. Not only would I be able to save money, but I would be more self reliant, and maybe even make some extra money. With the new arrival of our little one I figured that cloth diapers are my start.

Please Stay tuned....

I will be posting my version of how to make cloth diapers as soon as I get the fabric and a few things sorted out. Pregnancy sickness has really put a wrench in my crafting/ alterations mode lately and I am playing catch up at the moment.

If any of you are interested, the PUL fabric for the waterproof layer and the diaper flannel are both on fabric.com. There are plenty of patterns at Hancock fabrics as well as free downloads online you just have to look for the one that fits you best.